I think that yellow is one of my favorite colors… seriously, I really like yellow. And if you pair yellow with grey? Love! So it shouldn’t be much of a surprise when I decided that the lamps in the master bedroom should undertake a little bit of a makeover. Since I finally got around to deciding what I really wanted to do with the master bedroom, I have been on a mission to make this thing happen! Step 1… paint those lamps! Step 2….figure out the shades.
I have a game plan, and that is a huge step for me on this one. Not only do I have a game plan, but my plan has me pulling it off for less moolah than I had ever imagined. Maybe that is what was in my way all this time? Money… I’m thinking that is some of it, but a good portion of my hesitance in moving forward with a design is pure fear. Fear that I won’t get it right. Fear that I will put it together and it won’t be like I pictured it. Well, you don’t know till you try, huh? So here you go. Moving forward with this room. I am really excited to put it all together. It will be one step at a time though. I debated whether I should get it done, then give the big “Here it is!” reveal, along with the info on how I did it – or show all the little projects as I commence this journey and show the big picture when it is done. I have decided on the latter. I will be DIYing as much as possible and it will kill me to keep it all hush, hush until the reveal. And let’s face it, with my crazy life sometimes, it may take a bit to get to the reveal. So without further adieu…..
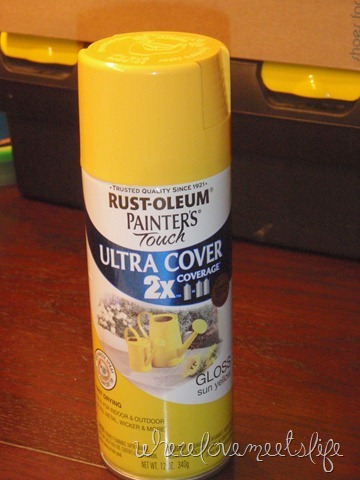
The story of a lamp. We bought these guys at Lowes last year (maybe the year before?) for $11 each –with the shade. That was a pretty good deal. We had been all over looking at lamps, T.J.Maxx, Marshal’s, Lowes, Home Depot. My husband’s style and mine just aren’t the same all the time. So when we finally saw these, and the price tag, we jumped. Although they are nice lamps, my plan includes yellow lamps. Enter Rustoleum’s Ultra 2x cover spray paint. I picked a can up at True Value on my lunch break for the tune of $4.25. That’s a pretty good price to get 2 new lamps, don’t you think?? This is really my second attempt at spray painting anything beyond picture frames and glass jars, so I was a tad nervous. Nothing to fear though, this stuff is amazing! Great coverage and what a glossy finish!
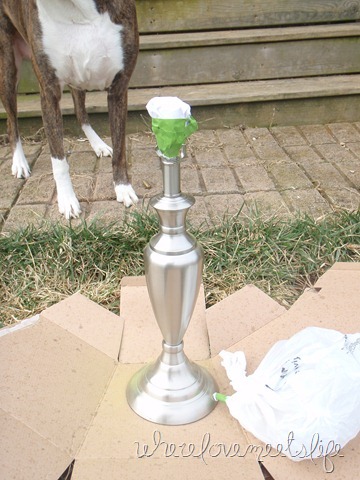
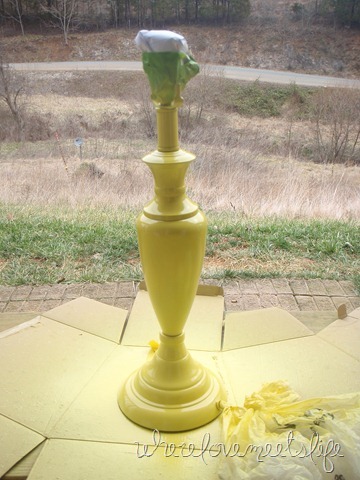
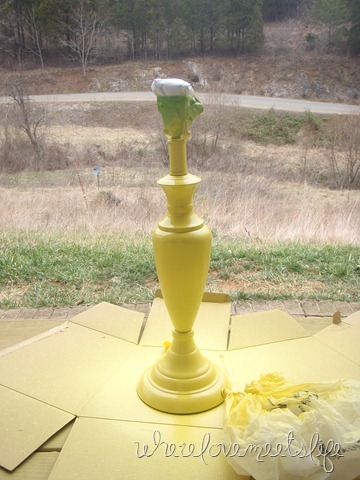
I started out by removing the shade and the hardware that holds the shade. Then I followed that up by wiping the hole thing down with a damp cloth to get any dust or residue off of it. Once I dried it, I covered the cord with a plastic bag, securing the piece closest to the base of the lamp with a little frog tape. I also stuffed the top part with paper, and covered it and taped it as well. Pretty much – if I didn’t want it yellow, I covered it up.
Don’t worry, the dog wasn’t standing there when I painted… that’s Lizzie, our boxer/helper/droololigist.
One coat…
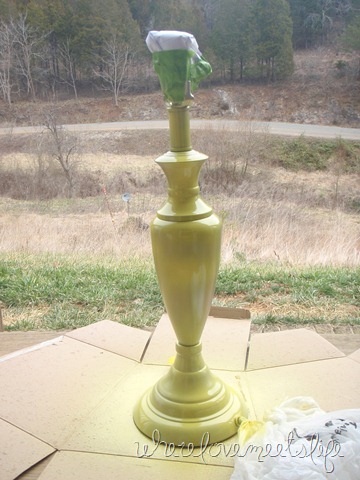
2 coats…
3 coats…
And because I didn’t want to miss anything and there were a few spots… 4 coats…
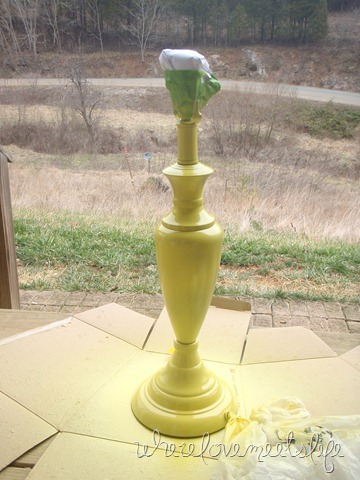
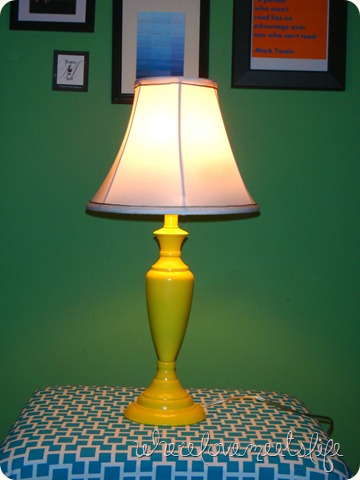
You can already see the shine on that bad boy…And here we are…one yellow lamp.
I let this cure for a bit before bringing it in. It dried really fast, and I only had to wait a few minutes between coats. I am very happy with how this turned out. I haven’t done the other lamp yet, since mother nature decided I needed to wait… 2-4 inches of snow to be precise.
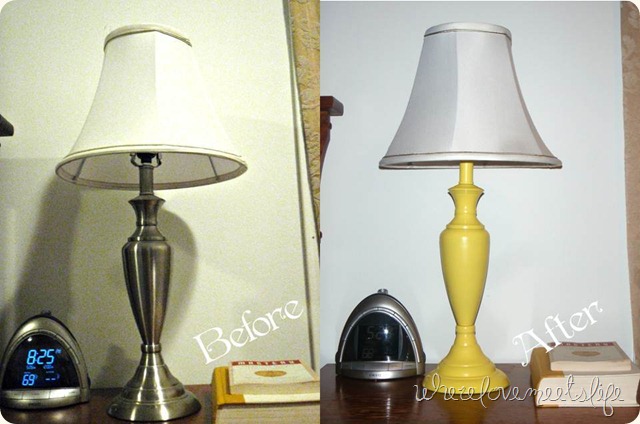
And as always, because I love a before and after pic.
Now all that is left is to figure out if I am going to change the shades. I may have to wait until I am further along with the room. That yellow is pretty bright and I don’t want the shades to compete with it.
Anyone else been spray painting lately? Any success, or maybe not so successful, stories to share?

I love the yellow! The paint really spiced up the lamp.
I can relate to your fear of ‘not getting it right’. Sometimes I think that a lot of us who are creative (and perhaps have a perfectionistic streak–I do!) are cautious…because we DO want to get it right. The trick is to let go and have fun, and that can be so hard. You are on the right track and I can’t wait to see the whole re-do! 🙂
Thanks Kelly! I think if I can repeat that mantra each time I get worried, I will finally finish a room. Thanks for the encouragement!
Teresa! You know . . . I am following you, but for some reason I never receive your posts? I don’t know why that is, but I will be better about checking back in. These lamps are gorgeous!! Very nice 🙂
Oh no! Did you follow me through WP or email? Thanks for checking back in anyway. Hopefully I can get the shades wrapped up soon too.
I believe through WP, which i show I follow everyone else . . . Weird! Good luck with the lamps!
That yellow looks great! Changes the look of the shade too..love it
It does, doesn’t it? I think that is why I am not sure what to do with them. They may be better white
I love your lamps! I think it is amazing how the technology let’s us DIY junkies/budget designers transform ordinary lamps into show-stopping wowser lamps! I too just sprayed mine from a nickel finish to an oil rubbed bronze courtesy of Rustoleum.
Oh yes, we must love the power of spray paint! 🙂 Looking forward to seeing your lamps!
Love the color. I am all for drum shades now a days. May be it will look cool with a drum shade.
Thanks for stopping by! And yes, I am as well. I am leaning heavily towards a drum shade. Lots of fun inspiration out there!
Pingback: Master bedroom reveal – almost 4 years in the making! | wherelovemeetslife